You are viewing a plain text version of this content. The canonical link for it is here.
Posted to commits@iotdb.apache.org by ha...@apache.org on 2023/05/04 11:37:45 UTC
[iotdb] branch master updated: Update workbench documentation with installation method and name bug (#9759)
This is an automated email from the ASF dual-hosted git repository.
haonan pushed a commit to branch master
in repository https://gitbox.apache.org/repos/asf/iotdb.git
The following commit(s) were added to refs/heads/master by this push:
new 4ca333c8e57 Update workbench documentation with installation method and name bug (#9759)
4ca333c8e57 is described below
commit 4ca333c8e579372422d4242eaf22f257c31babf8
Author: wanghui42 <10...@users.noreply.github.com>
AuthorDate: Thu May 4 19:37:38 2023 +0800
Update workbench documentation with installation method and name bug (#9759)
---
.../UserGuide/Ecosystem-Integration/Workbench.md | 79 ++++------------------
1 file changed, 12 insertions(+), 67 deletions(-)
diff --git a/docs/zh/UserGuide/Ecosystem-Integration/Workbench.md b/docs/zh/UserGuide/Ecosystem-Integration/Workbench.md
index 60486c284ae..6fe2458403d 100644
--- a/docs/zh/UserGuide/Ecosystem-Integration/Workbench.md
+++ b/docs/zh/UserGuide/Ecosystem-Integration/Workbench.md
@@ -26,77 +26,22 @@ Workbench是一个可创建多个连接的图形化数据库管理工具,用
## 安装
-以下是在Linux系统上安装图形化数据库管理软件的一般步骤。如果你在安装过程中遇到任何问题,你可以参考文档或向软件供应商或技术支持团队寻求帮助。
-
-环境要求:JDK8及以上;Nginx环境。
-
-(Nginx安装教程:https://nginx.org/en/docs/install.html)
-
-1、下载并解压软件。第一步是从官方网站或一个可信赖的来源下载软件,下载地址为https://www.timecho.com/product。
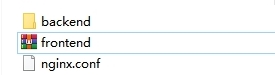
-软件号不同组件也不同,应包含前端组件"frontend"与后端组件"backend"。将"frontend"压缩包解压,得到名为"dist"的文件。
-
-
-
-2、配置Nginx。复制以下代码到"Nginx.conf"配置文件对应位置。注意需修改项目路径。数据看板地址、端口和数据库可在后端组件"backend"文件夹中的application-prod.properties文件修改。
-
-
-```shell
-# 放入 对应include目录内,可能为:vhost、conf.d
-server {
- listen 8080; # 端口号,自定义
- # server_name /;
- root /opt/workbench/dist; # 项目路径 请修改为解压后的文件夹“dist”所在目录
- index index.html index.htm;
- # redirect server error pages to the static page /50x.html
- # error_page 500 503 504 /50x.html;
-
- # 设置客户端最大可发送的body大小
- client_max_body_size 400m;
-
- # 解决504 Gateway Timeout错误
- # Proxy方式:http://nginx.org/en/docs/http/ngx_http_proxy_module.html#proxy_pass
- proxy_buffers 8 128k;
- proxy_connect_timeout 3000;
- proxy_read_timeout 3000;
- proxy_send_timeout 3000;
- # 发送超时设置,两次发送间隔超过报错
- send_timeout 3000;
-
- # vue router配置
- location / {
- try_files $uri $uri/ /index.html;
- }
-
- # 正式版配置
- location /api {
- # proxy_pass http://${BACKEND_ADDRESS}/api;
- proxy_pass http://127.0.0.1:9090/api;
- proxy_set_header Host $http_host;
- proxy_set_header X-Real-IP $remote_addr;
- proxy_set_header X-Forwarded-For $proxy_add_x_forwarded_for;
- }
-}
-```
-
-
-3、启动Nginx。
-
+如果你在安装过程中遇到任何问题,你可以参考文档或向软件供应商或技术支持团队寻求帮助。
-4、启动后端服务。输入指令:
-
-
- ```shell
- java -jar workbench-1.0.0.jar
- ```
+环境要求:JDK1.8.0_162及以上。
+1. 下载并解压软件。第一步是从官方网站或一个可信赖的来源下载软件,下载地址为https://www.timecho.com/product 。
+2. 启动后端服务。输入指令:
+```
+java -jar workbench.jar
+```
或:
-
- ```javaScript
- nohup java -jar workbench-1.0.0.jar \>/dev/null 2\>&1 &
- ```
+```
+nohup java -jar workbench.jar >/dev/null 2>&1 &
+```
默认端口为 9090;
-5、访问web界面。默认地址为IP:8080。
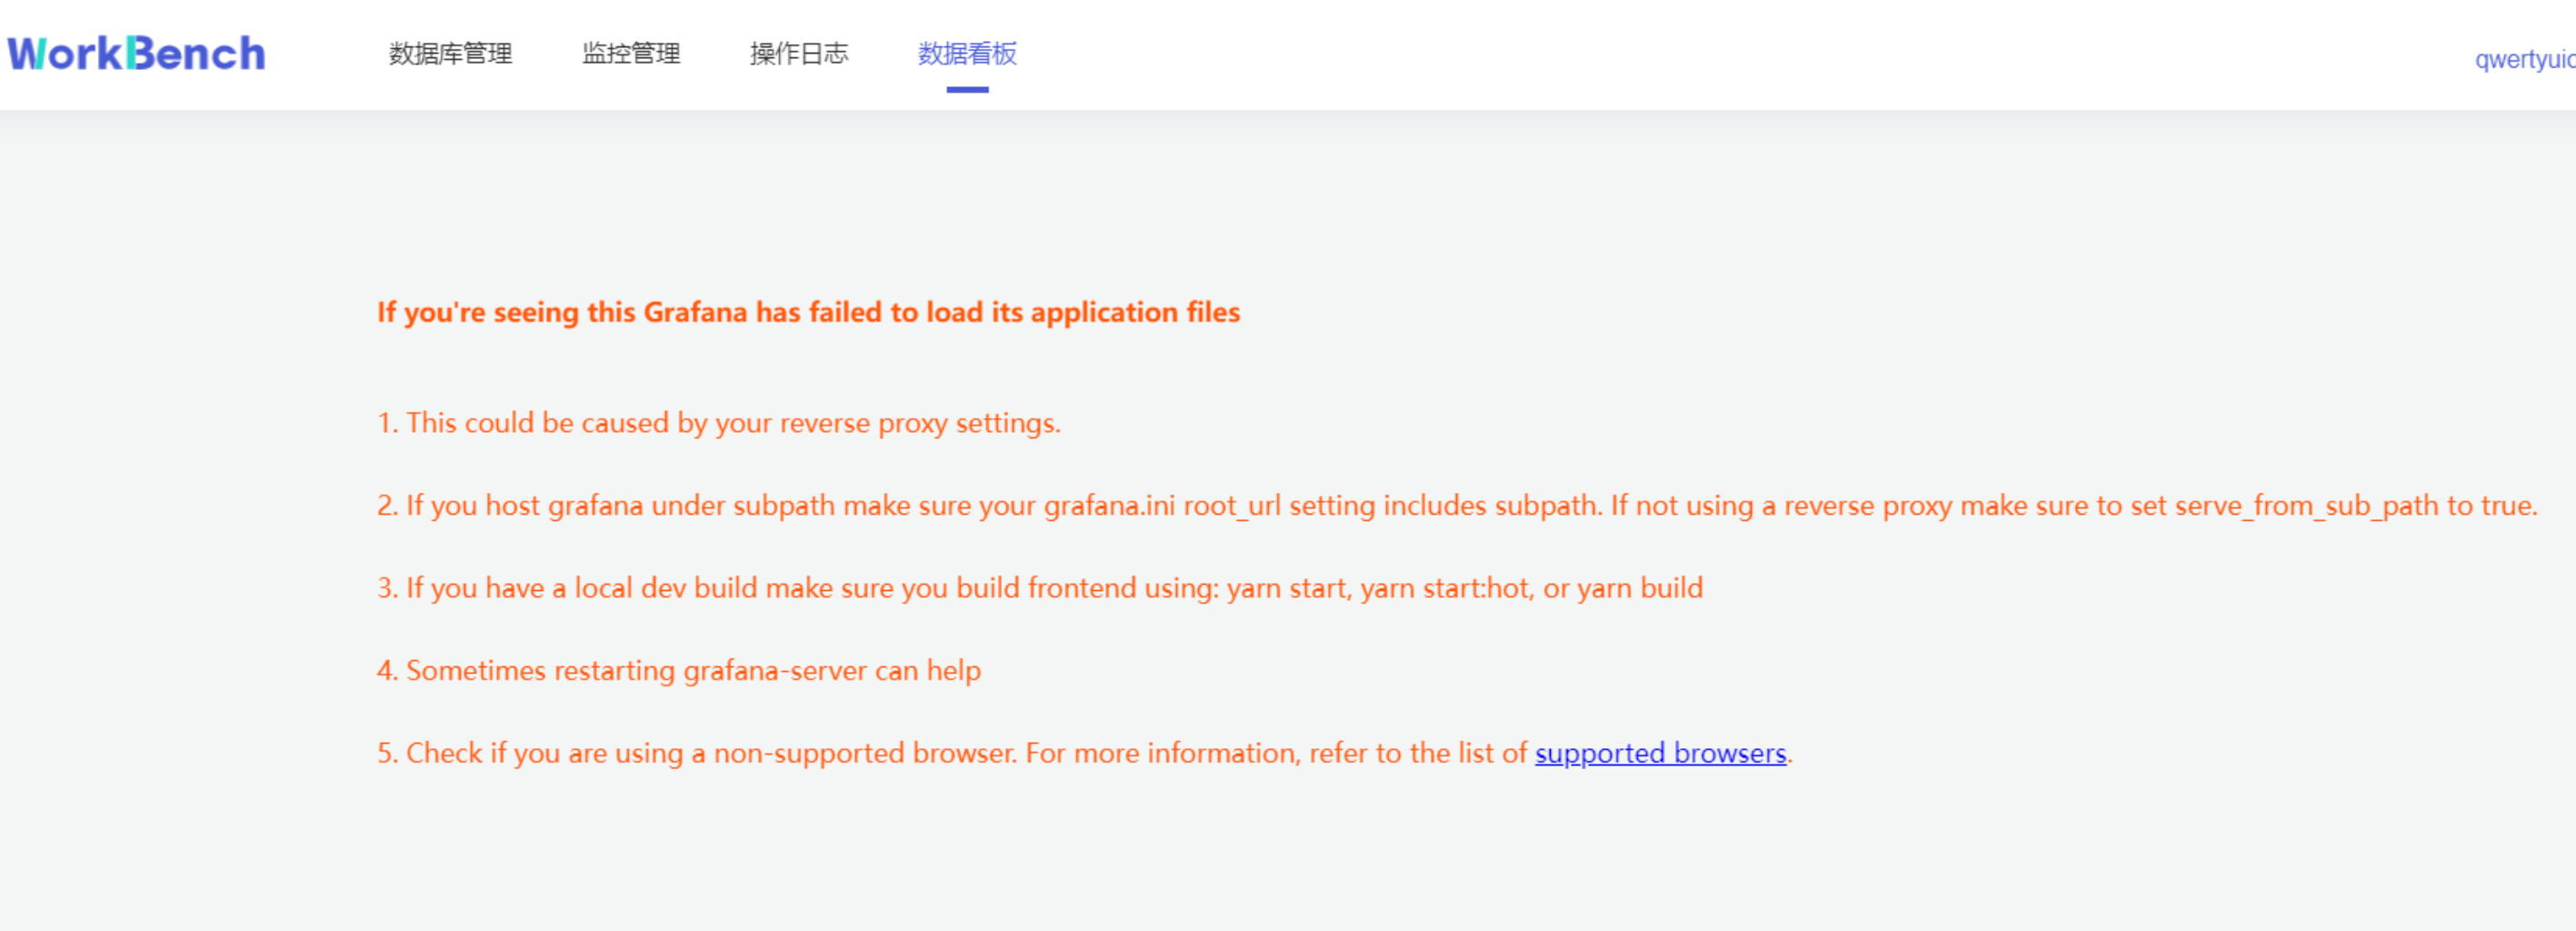
+1. 访问web界面。默认地址为`IP:9090`。
## 登录
@@ -415,6 +360,6 @@ URL**"即可。
-2. 如果看不到监控信息,需要开启TimechoDB的Metric。
+2. 如果看不到监控信息,需要开启IoTDB的Metric。
3. 双活配置发生变化时需建议重新建立连接。